


Cloud development is the hottest job skill around. The cloud phenomenon is undeniable. As a part-time curmudgeon, I wondered if I'd be writing about the cloud as a passing fad by now, but quite the contrary. I think the cloud is the greatest thing to come along since the debugger. The cloud landscape is starting to take shape and the dust is starting to settle just a little bit. So don't worry if you're new to all this. You're not too late; some of the kinks have already been worked out and it's a lot of fun. To get you off to a good start, you need to get signed up with an Azure account and subscription and then create your first virtual machine (VM). Creating VMs is one of the original features of all clouds (hosting websites is the other), and hosting VMs is still one of the most common uses of the cloud. It's essentially the “Hello World” of cloud skills.
Get Signed Up for Azure
If you don't already have an Azure account, type azure.com into your browser (you'll be redirected to azure.microsoft.com) and look for the words “Free Trial.” Those words have been on that page almost since Azure began. At the bottom of the page, you'll notice that if you have an MSDN subscription, or if you're a new business startup or a student, you may qualify for ongoing free Azure credits. For now, let's just pick the Free Trial subscription and you can add one of the other programs to your account later if they apply to you.
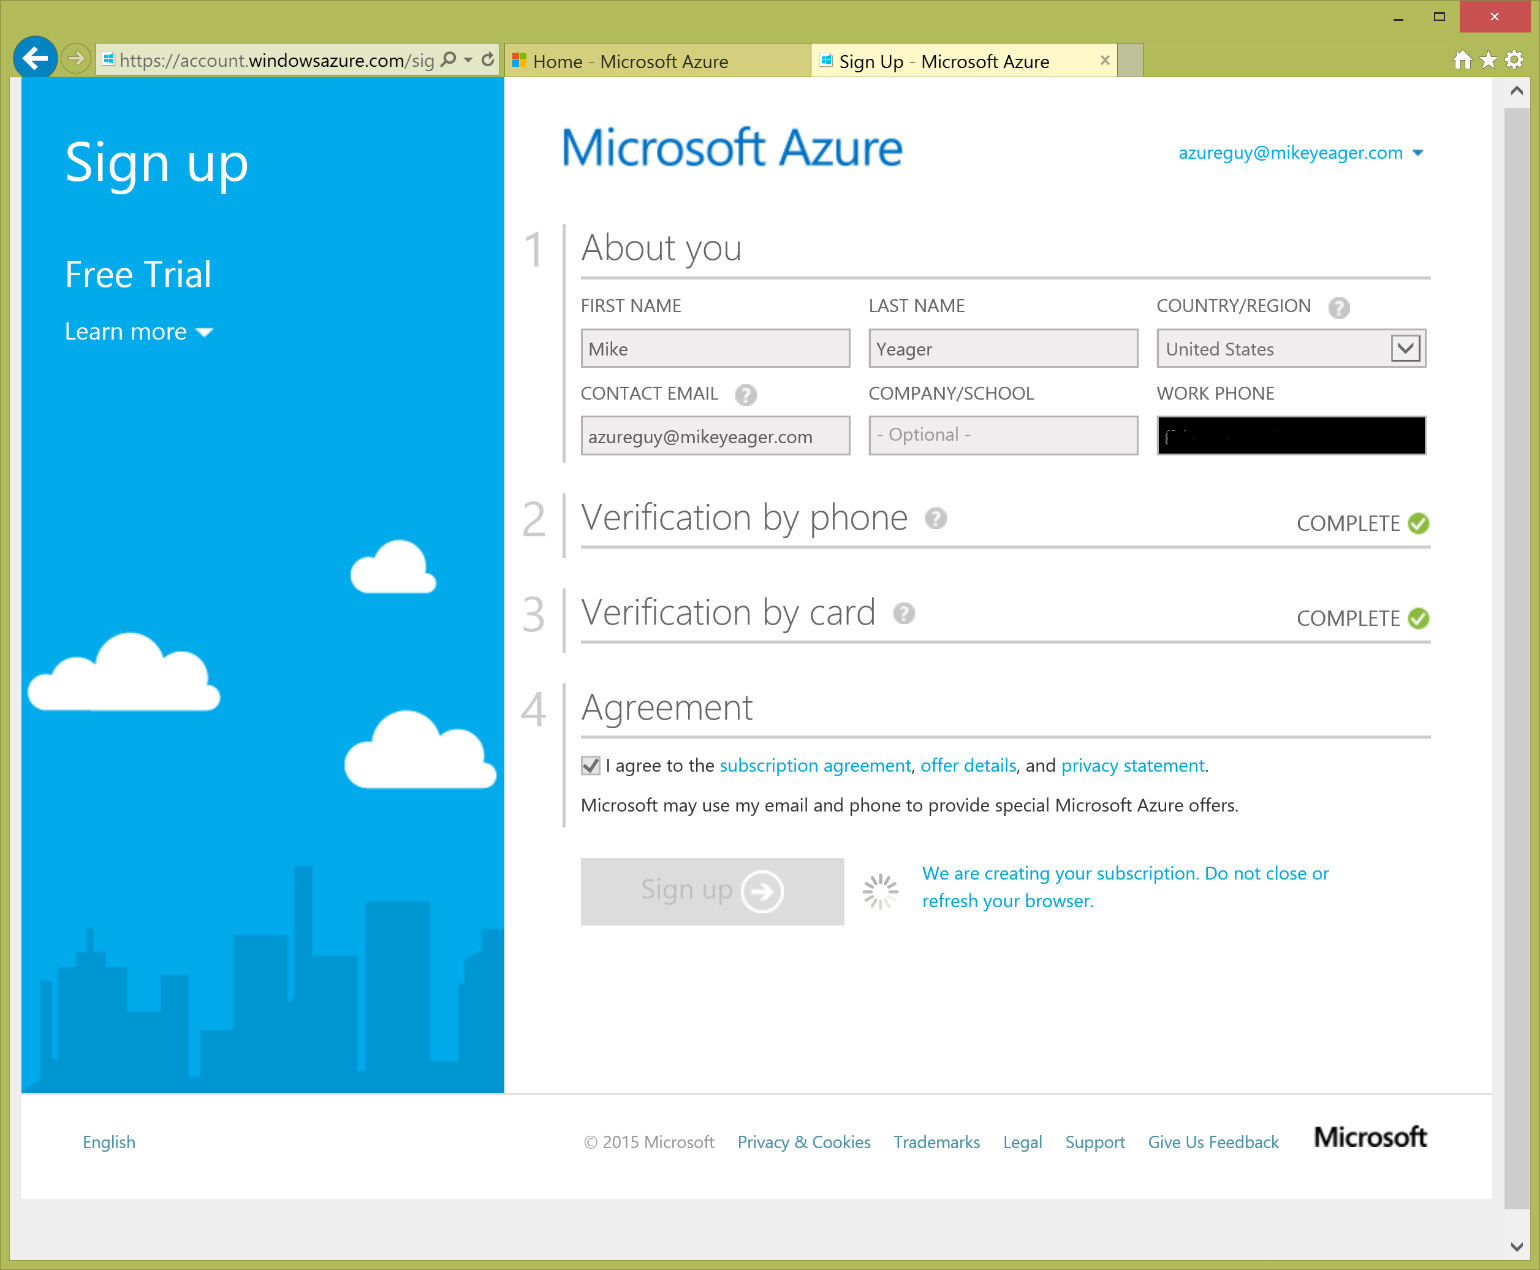
You need a Microsoft account to create your Azure account, and if you don't have one already, you can create one right here. By adding the Free Trial subscription to your account, you'll get a free month of Azure with up to US$200 in free credit, so this won't cost you a thing. You'll have to provide a credit card number to create the subscription even though it won't be charged. Once logged into the Azure portal with your account, you'll need to create an Azure subscription, as shown in Figure 1.
You'll be the administrator of your Azure account, so you'll have carte-blanche. You can add co-administrators or give out access to specific items, but soon, there'll be a rich role-based security mechanism allowing you much better control of your Azure account. Also note that your login can be linked to multiple subscriptions at once, so you can have your own account, as shown in Figure 2, and be part of your company's account and others, all with the same login.
Virtual Machines
If you've used third-party virtualization products such as VMware, VirtualBox, or Parallels (on the Mac) or you've used Hyper-V (Windows 8/Windows Server 2008 and later) or the older Virtual PC (Windows XP/Windows 7), you're already familiar with the idea of VMs. Instead of installing Windows on a dedicated piece of hardware, it's installed it into a portable sandbox. Many VM sandboxes can run on the same hardware as your production projects and share that hardware, cutting hardware costs. As far as your OS and software installation are concerned, they don't know if they're installed directly on the hardware and have it all to themselves or if they're installed in a VM sandbox, sharing hardware with other VMs.
There are usually two parts to a VM: a virtual hard disk and a configuration file. You're probably familiar with the .vhd or .vhdx file formats for virtual hard disks (Azure uses the .vhd format). They represent an entire hard disk volume inside of a single file. In recent versions of Windows, you can mount these files and they show up and can be used like any other hard drive. In most cases, an entire bootable operating system is loaded onto that hard drive. Other software, such as Microsoft Office, DropBox, or your custom apps can then be loaded onto the virtual drive as well. As long as the drive isn't currently mounted, it can be moved and copied like any other file.
In order to boot a VM from the .vhd file, there must be a configuration file on the host system. This configuration file is how the OS on the host computer configures the environment sandbox that the VM will run in. For example, the configuration file may say that your VM gets access to 4GB of RAM, two virtual processors, a (shared) network card, and maybe an extra disk drive (.vhd) in addition to the OS drive. It may also configure whether the VM and the host OS share the same clipboard, printers, and other features.
Why so much talk about how VMs work? Aside from explaining a bit about how your computer will run in Azure, one of the cool features of Azure is that it uses the same standards as Hyper-V and VMWare. That's important because it means you can move and copy your VMs between your own computers and Azure. You can't do THAT on Amazon Web Services!
The other cool thing about it? Since your virtual hard drives are just files, you can store them in Azure storage for almost nothing! Last I checked, the retail cost to store files in Azure was about $0.02/GB per month. If your virtual hard disk is of the dynamically expanding type, it's only about the size of the files. Most empty space on the drive isn't saved in the file since it's allocated only when needed. So a fresh installation of Windows 8.1 with Office and Visual Studio installed is probably only about 16GB in size. That means it costs only about $0.32/month to store the virtual disk drive in the cloud when it's not running. If you just signed up for a free Azure trial, you have a free $200 to spend. Your credit card won't be charged if you accidentally go over unless you explicitly approve it, so have no fear! When it's running, you also pay for that time. More on that later.
Create Your First VM in Azure
In the previous section, I mentioned how you can load your own copy of an Operating System and software onto your VM. This is a great way to spin up a computer, but it's a pretty slow process. First you install the OS, then you patch the OS repeatedly until it's up to date, then you install all the software, then you patch the software repeatedly. It usually takes the better part of a day popping back and forth to the VM to keep things moving.
Luckily, the folks at Microsoft (and hundreds of other companies) have already done this for us for most scenarios. They've provided us with a gallery of pre-built, pre-patched virtual hard disks that are ready to fire up and go. Want to try out some test scenarios on SharePoint? Pick an image with Server 2012 R2 and SharePoint already installed and patched. Want to learn to work with Oracle? Pick an image with Oracle pre-installed and get right to work. And you're not limited to running Windows or the Microsoft stacks. There are images for Linux, PERL development, IBM WebSphere, and others ready to go. It's a great way to try new things without mucking up your main computer. In most scenarios, the cost of the pre-installed operating system and software on the VM is built into the cost of running the instance, so there are no up-front licensing fees.
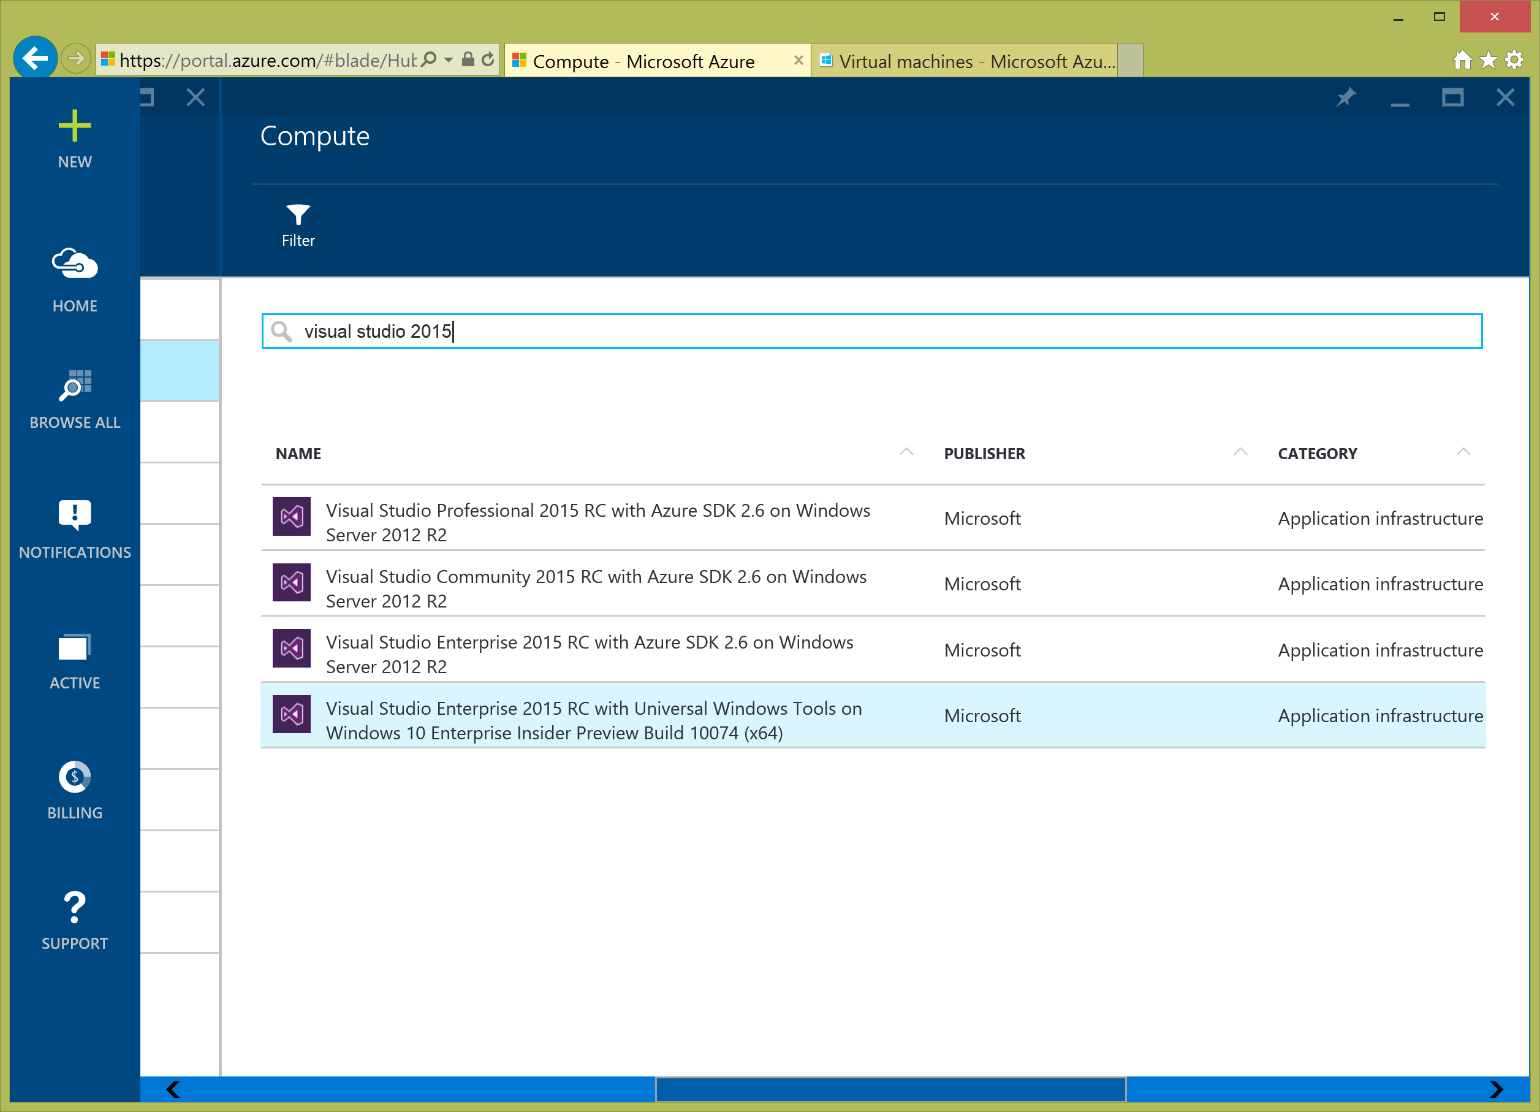
Let's pick something interesting for this VM. How about the next version of Visual Studio or the next version of Windows? As I write this article, Visual Studio 2015 is a release candidate and Windows 10 is in preview and scheduled to be rolled out at the end of July. Both are offered as pre-built images in Azure. I'll pick VS 2015 for this demo, but you can pick anything that's of interest to you. Sign into the Preview portal (portal.azure.com), click the
New icon that looks like a plus sign in the upper left-hand corner and choose Compute and then Marketplace. Search for Visual Studio 2015. You'll find the latest release installed on the latest version of Windows Server; in this case, you can choose from Windows Server 2012 R2 or Windows 10 Enterprise, as shown in Figure 3. See the sidebar about why there are two Azure Web portals.
Now you have to configure your VM. The first step is usually to decide where you want your VM to run. This isn't the first step on the page, but it's a good habit to start with this step. Typically, you'll pick the Microsoft Azure data center region closest to you, as shown in Figure 4. In my case, I live in Houston, TX, so I'll pick the South Central US data center, which is near San Antonio, Texas, not far from me. As you do more and more in Azure, you'll have to start being a bit more careful about where you spin up your resources because resources that need to talk to one another work best when they're in the same data centers. It's also not a trivial task to move resources from one data center to another after they're created, which makes this the most important option you will make when creating a new VM. Moving VMs among regions will likely get easier in the future, but why make it hard on yourself? For what you're doing following along in this article, you can probably pick any data center in the world. The only difference you're likely to notice is that the farther away you are from the data center, the more latency you'll have in your connection.
Selecting a data center might be one of the most important options you choose when creating a new VM.

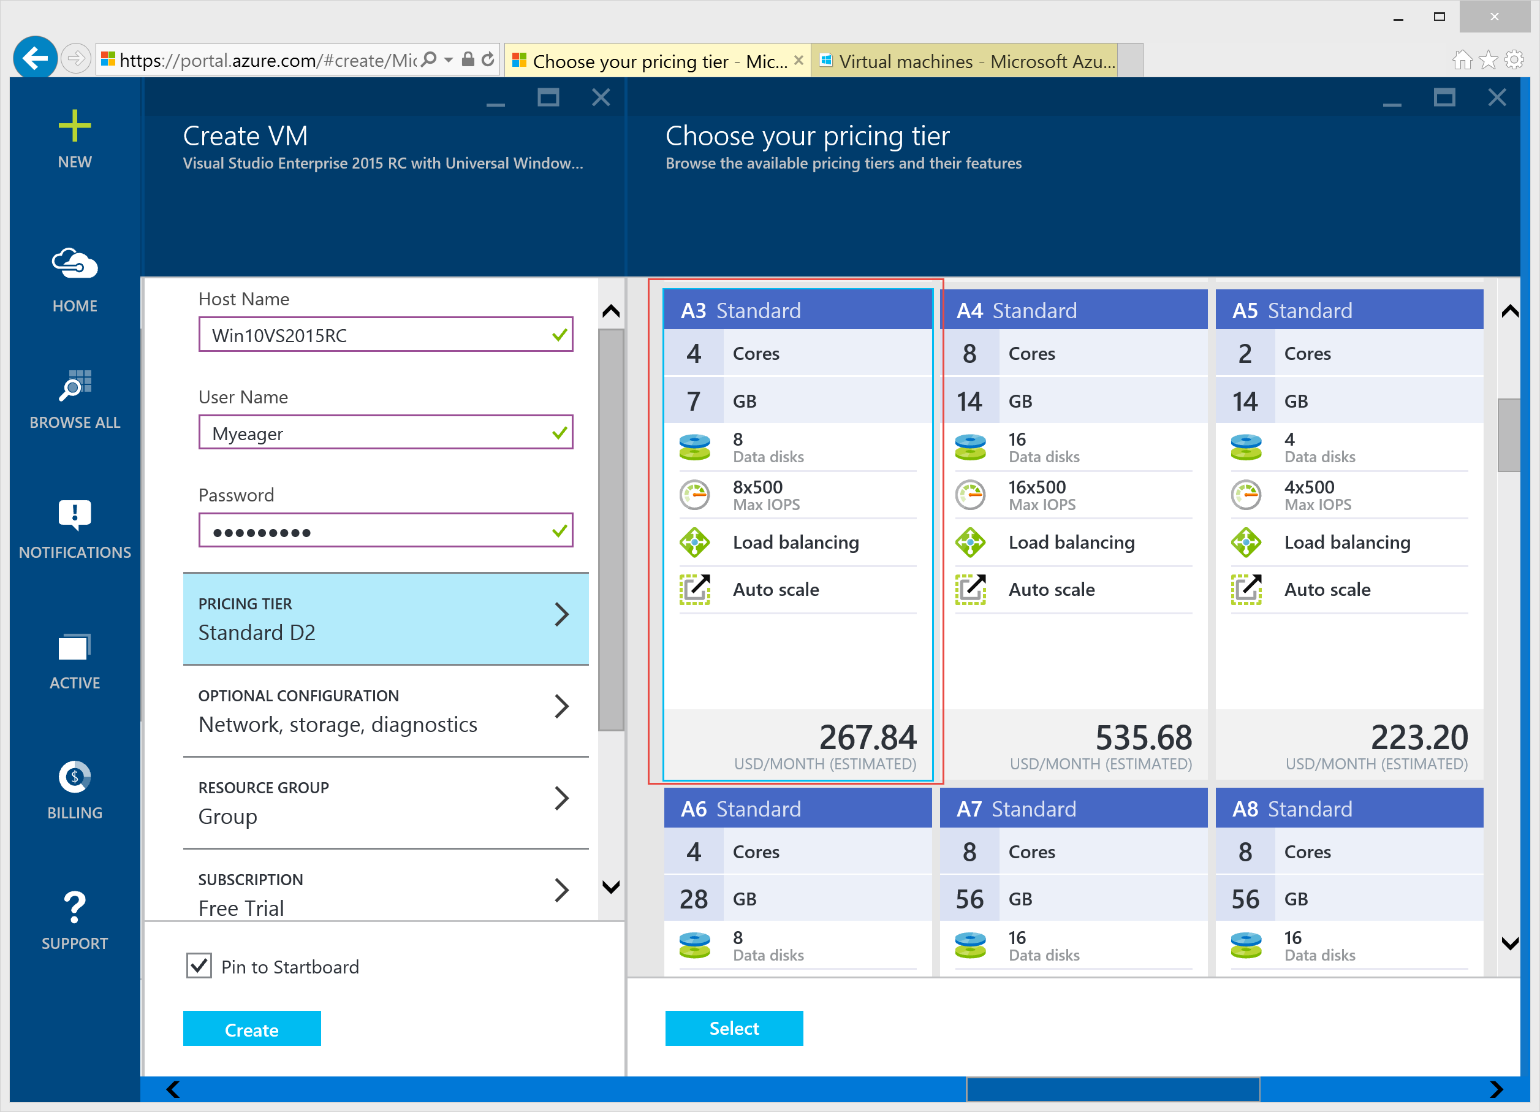
Next, choose a name for your VM. I'll call this one Win10VS2015RC. Enter a name and strong password for the local administrator account on the new VM. Note that Azure won't allow you to enter “Admin” or “Administrator” as the account name. It also requires a strong password and you can't use common passwords like P@ssw0rd because that just makes it way too easy for a hacker. I'm going to enter Myeager and Wx34!27a5. Finally, choose how much horsepower you want. There are a few different types of configurations to choose from, each optimized for different types of workloads. The A series is the most generic, least expensive, and will work well for most workloads. The D series is designed for workloads that are more disk-intensive and includes an SSD drive in addition to the OS drive. The G series is designed for high-compute loads and the DS series has the highest performance since the OS drive is built on solid state disks (SSDs). Currently, the DS series is only available in certain locations. For the purposes of this article, you can't go wrong. Within each series, you can choose just how much horsepower you want to pay for. A0 is the smallest configuration in the A series and currently gives you a quarter of a virtual CPU core, three-quarters of a GB of RAM, and a maximum 300 IOPS on a very small hard disk for about $13/month running full time. I'd like a bit more horsepower, so I'm going to choose the A3 Standard with four virtual CPU cores, 7GB of RAM and 100GB of hard disk with a max of 4k IOPS, as shown in Figure 5. This set up will cost me about $268/month running full time. I only expect to run it for about 10 or 15 hours, so I expect to burn about $4.50 of my $200 credit.
Start it up! You'll see that it takes several minutes to provision your new VM. During this time, Azure is making you a copy of the drive image you chose and storing it in Azure storage. This image includes both a .vhd file and a configuration file. It then modifies the configuration to the VM series and type you want and registers that VM to your account. Once provisioning is complete, Azure starts up your VM. Windows 10 Enterprise configures itself for the hardware and resources allocated to it much like when you start up a new computer the very first time. Just like on a new computer, this can take several minutes. The standard disk drives in Azure are notoriously slow. If you're used to a nice fast SSD, they'll seem painfully slow, but once the computer is booted and Visual Studio is cached in memory, the standard drives will be plenty fast.
Take It for a Spin
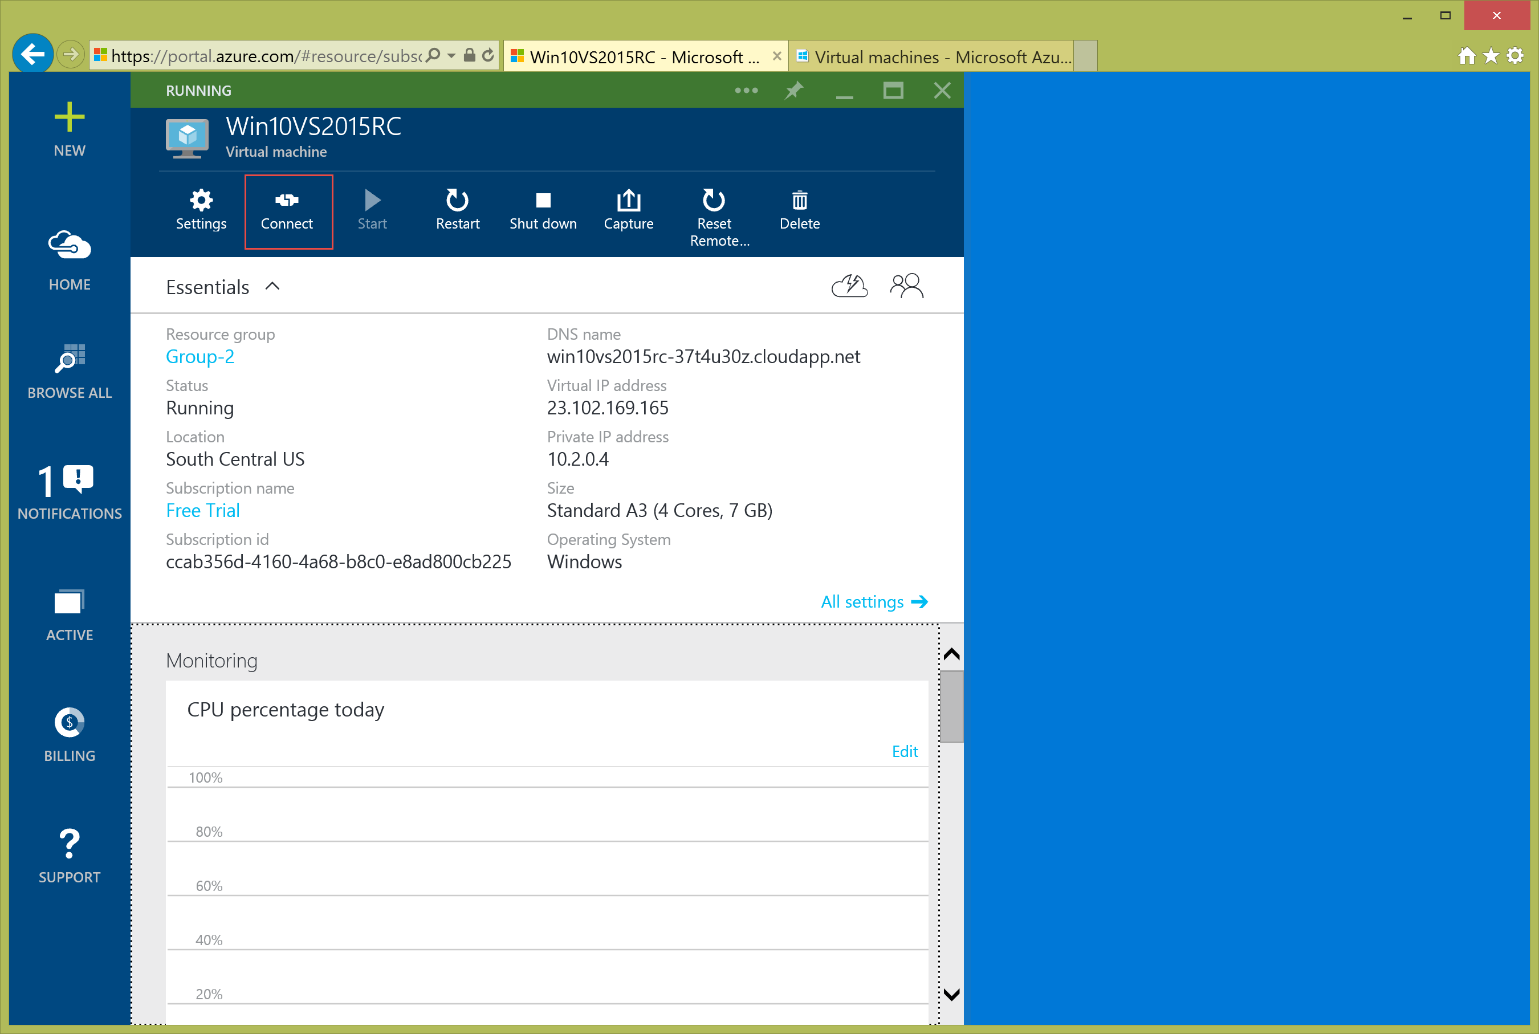
Press Connect to start a Remote Desktop Session and connect to your new VM (see Figure 6). Don't forget to use the name and password you specified when you created the VM. Type a backslash in front of your login name to tell Windows to log into the local computer and not try to use an account on your home domain, workgroup, or computer. Once you log in the first time, Remote Desktop Services remembers your settings and you can connect to your VM directly without having to go through the Azure Web portal first.
Before You Go
Don't forget that you pay for VMs primarily based on the amount of time they run. You can shut down your VMs when you're not using them to save money. Once a VM is shut down, it loses its assigned IP address in Azure, but for the purpose of this article, you don't need to maintain the address.
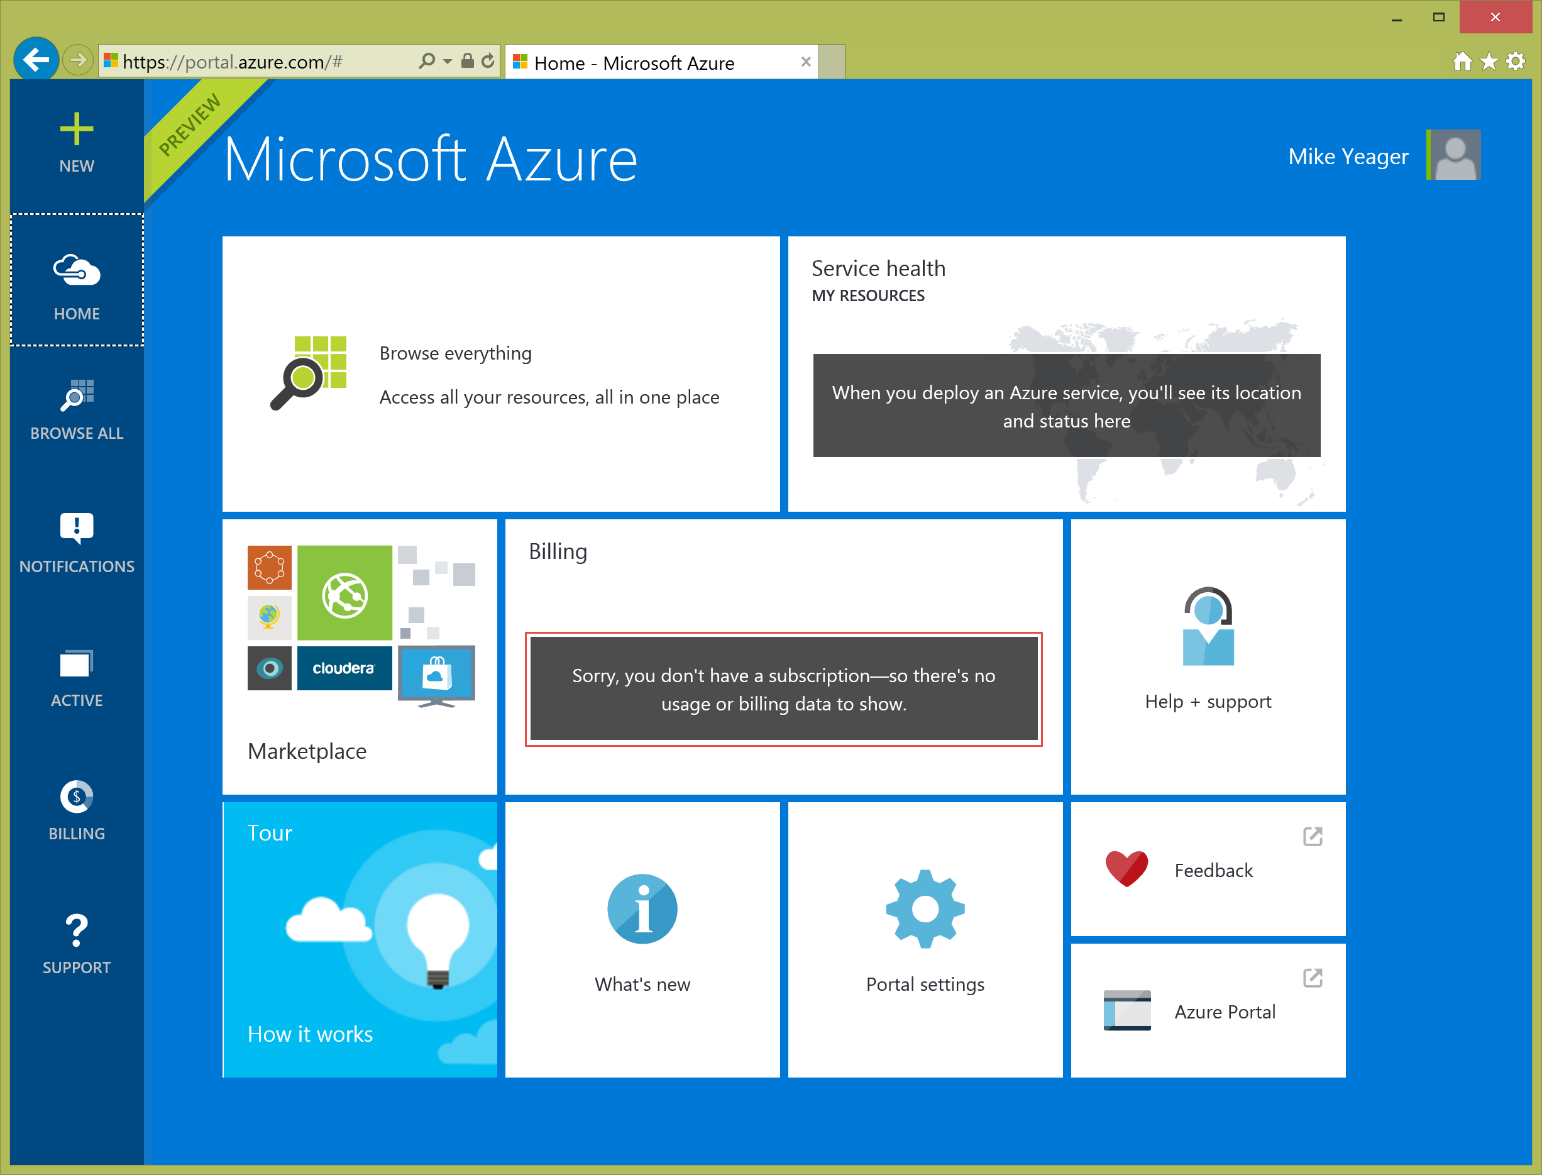
VMs are relatively cheap to run compared to buying new computers, but the costs can add up quickly. Compared to our example storage cost of $0.32/month for 16GB, a beefy VM could cost hundreds of dollars if left running all 43,200 minutes in a month. Just running it eight hours a day, five days a week reduces that cost by almost 75%. And remember, if you're using a trial account, an MSDN account, BizSpark account, or educational account, Microsoft is giving you a big fat credit for free. Both of the Azure Web portals show you how much credit you have remaining on your account and how many days are left before the next cycle. I think the Preview portal does a nice job of displaying this right on the front page by default.
Azure billing can be a bit complex because each service can include multiple charges such as CPU time, storage space allocated, bandwidth used, etc. If you want a better idea of how you're being charged, you can see all of the details for charges by downloading a spreadsheet with all of the details. Click on the billing tile in the Preview portal and then look for the link on the right-hand side of the page. Your billing details are recorded, even if you're getting a credit, so this is a good way to see exactly what something will cost you in a production environment.
Once you're completely done with your VM, delete it from the portal. You'll be asked if you also want to delete the hard disks as well.
What's Next?
In this article, I just scratched the surface of Microsoft Azure. In fact, I've just scratched the surface of what can be done with VMs in Azure. Virtual networks can be created between on-premises and cloud networks, domains can be created in the cloud or extended to and/or from on-premises networks, and dedicated connections can be configured. Some of Azure's most unique features provide the ability to blur the lines between on-premises and the cloud and even to create large and complex data centers in the cloud, replacing the on-premises hardware of yesterday.
In addition to computers and networking, Azure covers a lot of other ground. As I write this, I count 46 distinct offerings in Azure, many with lots of variations and additions. Today, I covered the canonical example, the “Hello World” of clouds, creating a VM. In the coming issues, I'll talk about some of the other 45 offerings and I'm sure there will be more than 45 by the time the next issue of CODE Magazine hits the newsstand. I'll try to focus on those parts that are of interest to developers (as opposed to IT professionals).
I recommend taking a look around at some of the pre-built images available in the Azure Marketplace. There are a lot of cool things you can try out and explore without having to spend days of setup and configuration. I could spend the next two months exploring what's available and learning about just a fraction of the software and systems available there.
